Preparations for a Molecular Gastronomy Dinner Party

This is the fourth post in a series about planning a molecular gastronomy dinner party. Click here to read the first post about the blueprint for the big feast. These posts are also being featured on food52!

Me, in the thick of party preparations, the night before the big feast. 
A week or so before the party, I made a to-do list of everything that would need to be done in the 48 hours leading up to the party.  Absolutely everything that could be done in advance was scheduled for Friday, and the last minute stuff was listed in the order it should be done on the day of.  But now that it was actually time to start cooking, I was nervous.  My normal MO for dinner parties is to serve dishes that I’ve made before- many times if possible- to make sure that I really like what I’m about to serve, and to help me feel more confident that I won’t mess it up.  For this party, I had only made two of the seven courses before- the herbed beef skewers, and the chocolate cake.  (Hey- even if things go horribly, we’ll be able to eat steak skewers and a lot of cake!) I just had to keep reminding myself that, for this party especially, the whole point was to serve new and surprising dishes, and if they weren’t quite what I was expecting, than we had at least had a fun time trying them.  I adopted this as my mantra.

As we actually began to cook, there was so much to do that I sort of forgot my nerves.  I kept my head down, tackling one task at a time, and using the strikethrough command on my to-do list when I had finished a job (so satisfying!).  Helen, Molly, and Andy (my husband) were all instrumental in the process.  Molly helped cook and took care of all of the decorations (and had to tell Dustin an increasingly elaborate lie to explain her near two-day absence), Helen took hundreds of pictures of the preparations, and Andy was left to entertain baby Henry.  But after many hours, we got it done! Here’s how it played out:

Friday (The Night Before the Party)
Henry samples the Japanese 7 Spice/Pop Rock salt that will be sprinkled on the pork belly ssäm. Thanks to mrslarkin for the tip!
The marinade for the sliced pork belly from Richardson Farms
Filling the petri dishes with the blood orange gelée
Molly baked the cake while I worked on the decorations. We had originally planned to make a complete periodic table cake, but that’s 118 tiles, folks.  Instead, and to make it more birthday-y, we spelled out 
H Ar P Y      B I Rf Dy       Ds Sn
(Sn = Tin!, perfect for Dustin!)
Molly makes approximately one million platonic solids from folded cardstock for decorations. 

Saturday (The Day of the Party!)
Eeee! Henry and I ate unseemly amounts of cream cheese frosting after decorating Dustin’s birthday cake. 
Then we carbonated some grapes! Here’s a video of me laying waste to some dry ice for this:

Preparing the marinade and slicing the beef for the herbed beef skewers.  We didn’t combine the sliced beef with the marinade just then- it only needs an hour to marinate.
Skewering cocktail sausages for our miniature corn dogs.  Texas represent!
An hour and a half before the party- time to fry! First up: miniature sage funnel cakes, inspired by a dish at Barley Swine, a fantastic Austin restaurant. 
Next in line for the fryer: mini corn dogs. 
Last but not least, fried pickles. Fun fact: these are Dustin’s favorite, and earned him the nickname “The Pickler.”
We need something green. 

Checking the to-do list.  We have time for a break!
Molly, back at home with Dustin, sent a surreptitious text to let us know they were on their way- time to grill the pork belly and beef skewers! Have you ever grilled pork belly? Crazy, crazy flare ups.  I somehow managed not to completely incinerate it.

Helen lined up all the plates we would be using for the dinner, along with all of the components that didn’t need to be kept hot or cold.  The just-cooked meat and fried stuff was kept in the oven at 170 degrees- the lowest it would go. 
The last to-do! Putting together the petri dish course. 
Here we go!
Advertisement

How to Make Spherified Fruit Juice

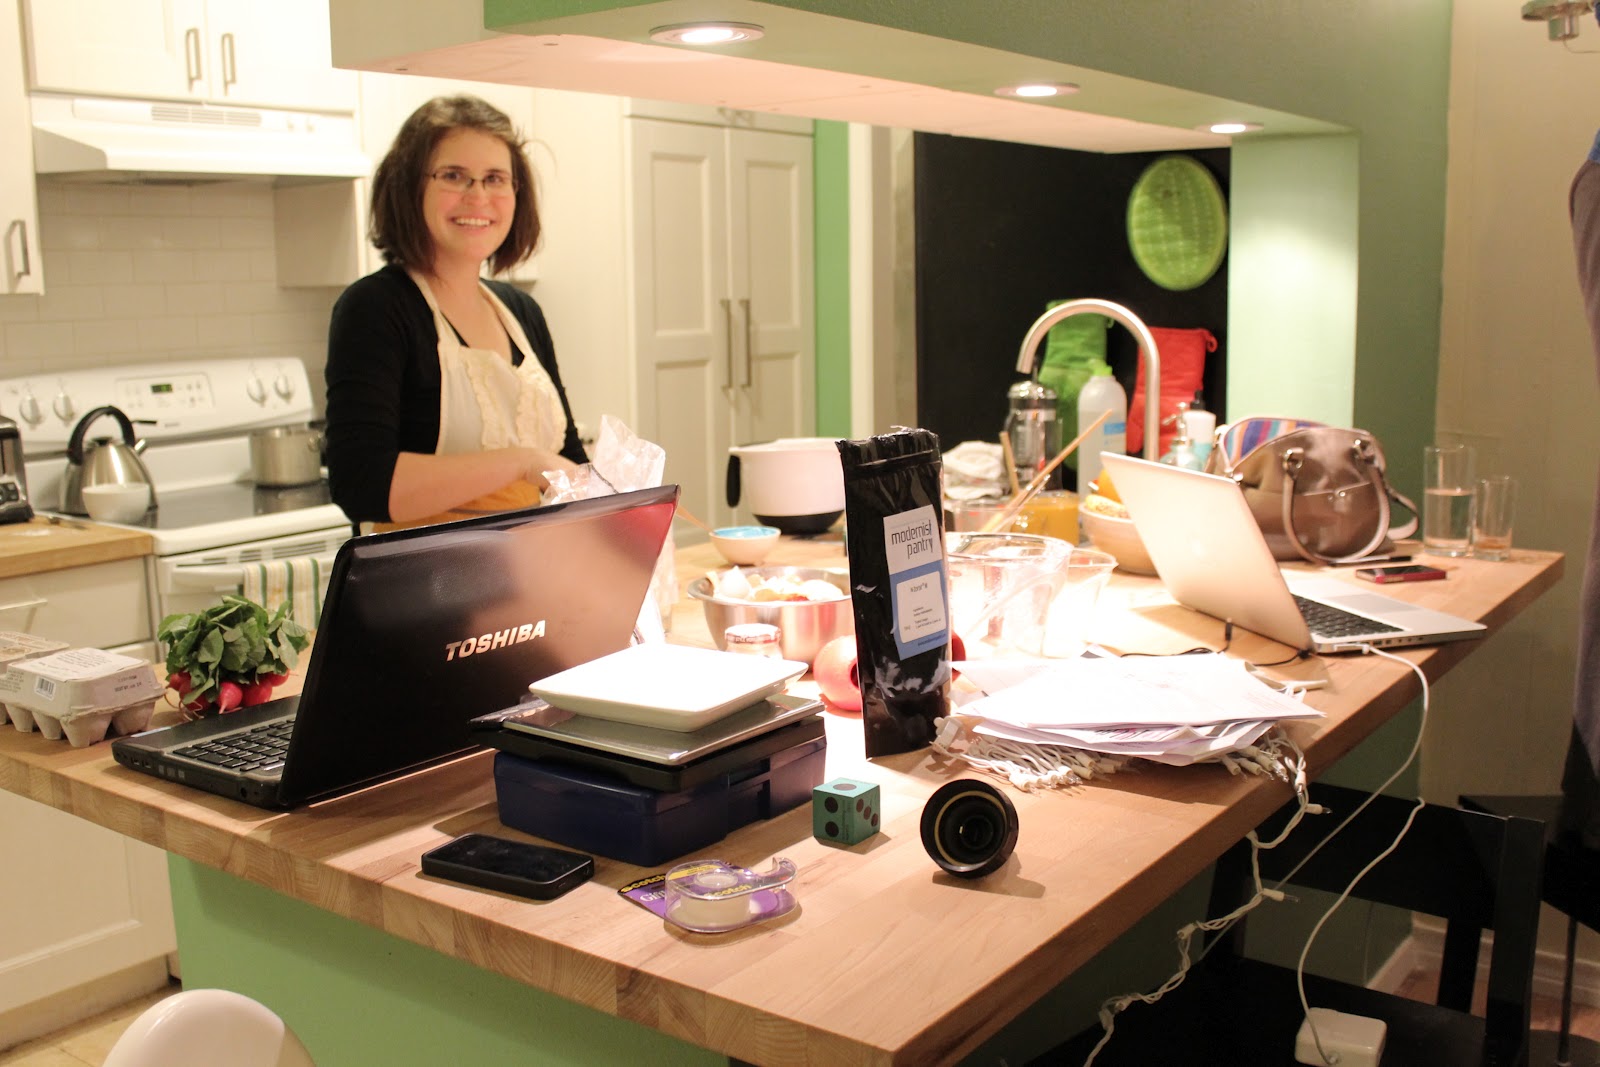
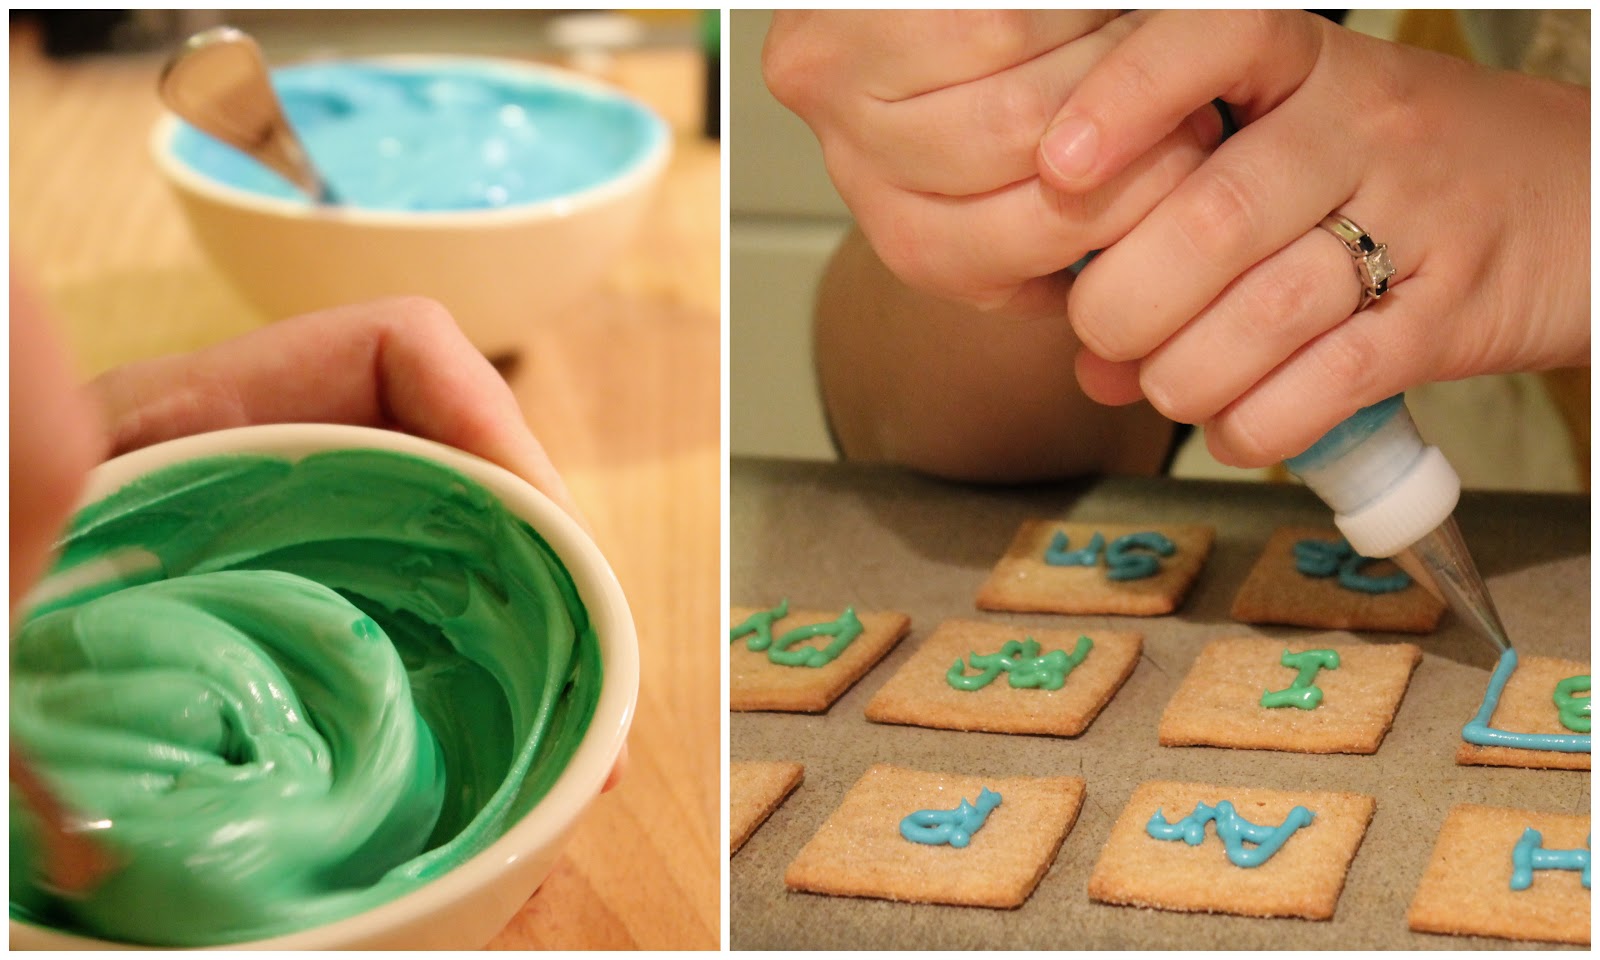
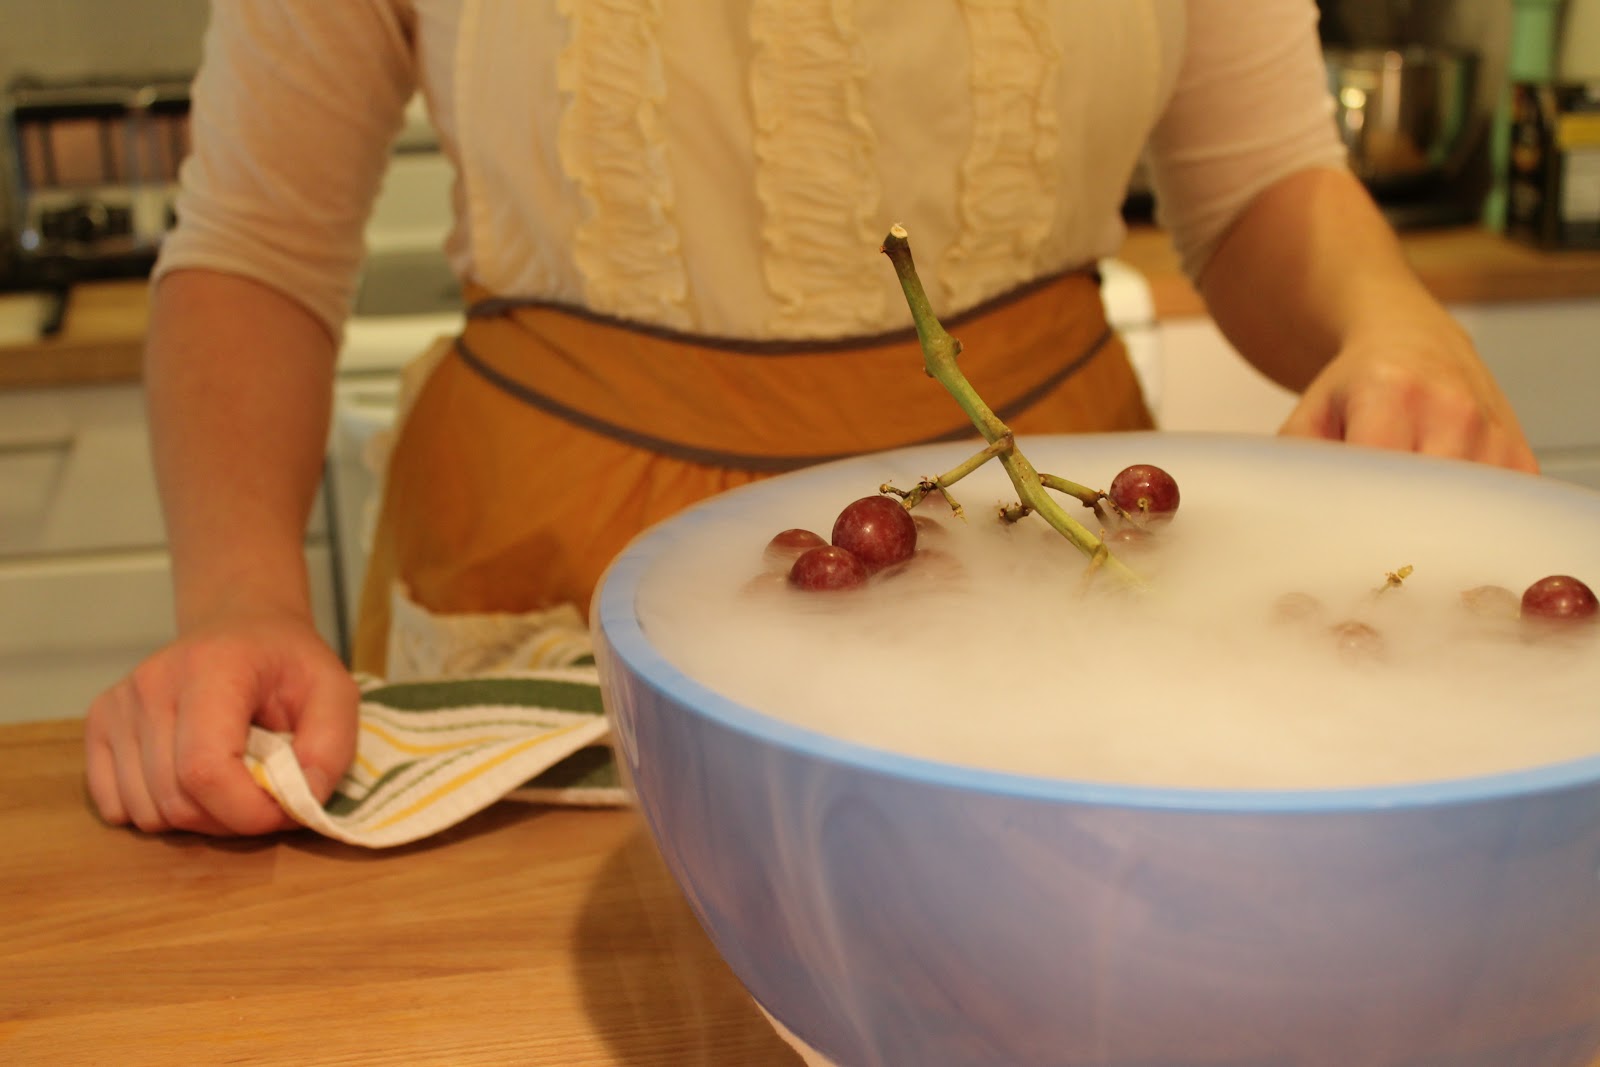
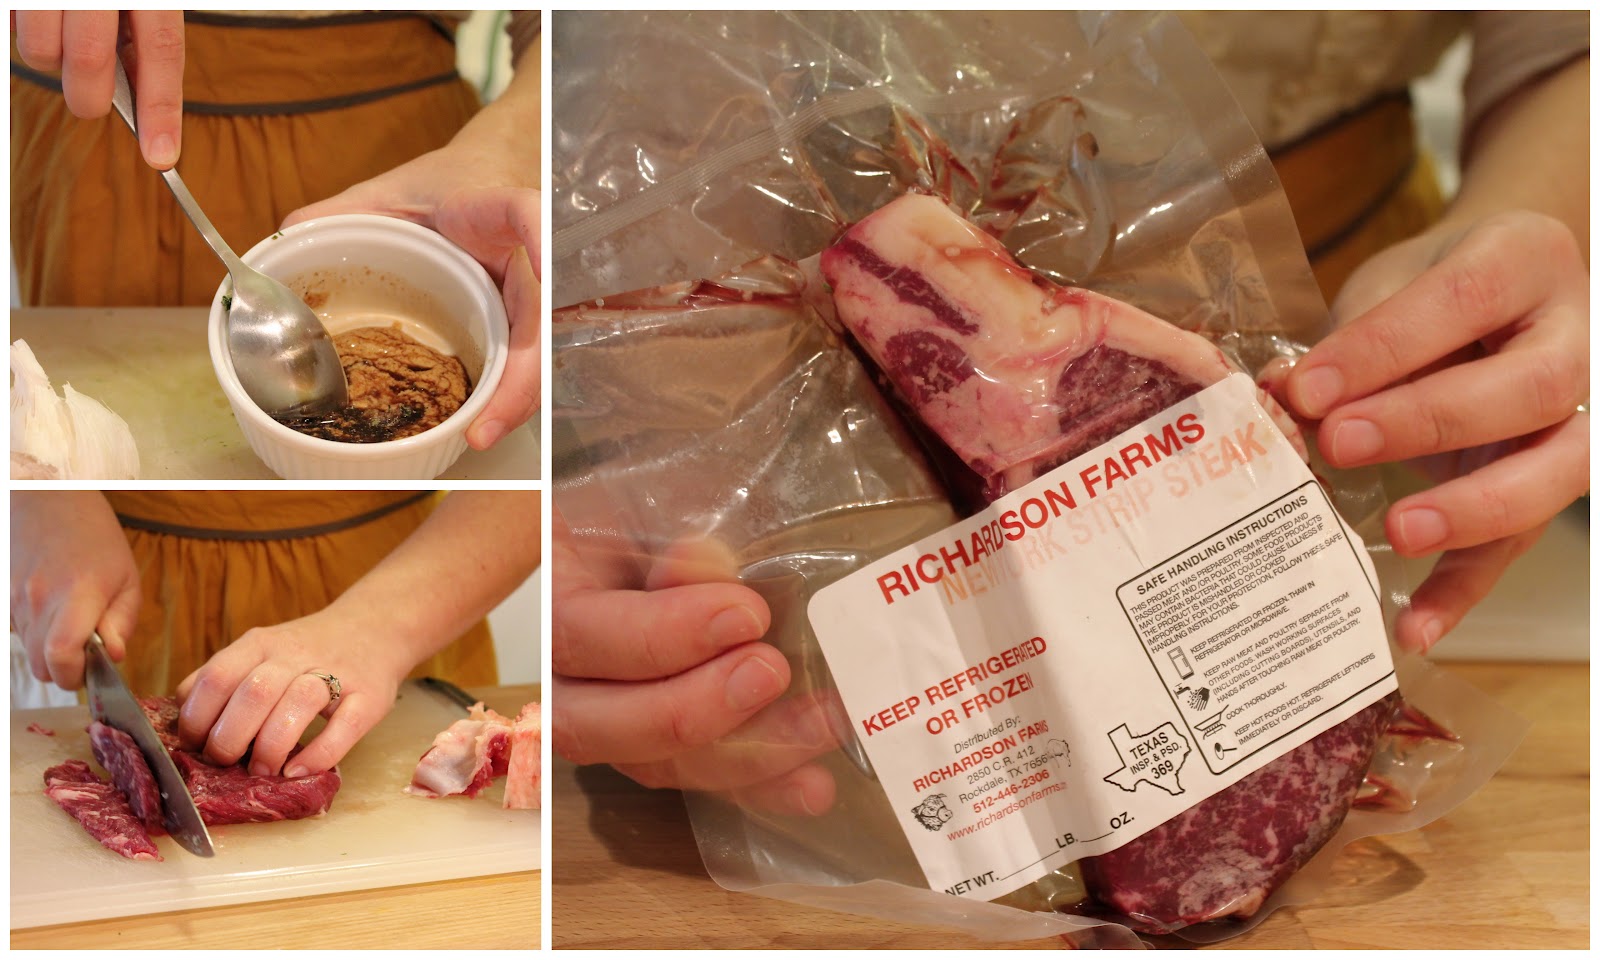
This is the third post in a series about planning a molecular gastronomy dinner party. Click here to read the first post about the blueprint for the big feast. These posts are also being featured on food52!

Spherification, the process of turning a liquid into little caviar-like spheres that pop in your mouth, was one of the techniques I was most excited to try out for my molecular gastronomy dinner party.  I had never tasted anything prepared in this way, but, much like with the powdered olive oil, I was in love with the gimmick.  Maybe it’s not everyone’s cup of tea, but I totally dig the idea of serving something familiar and delicious in a completely new way. 

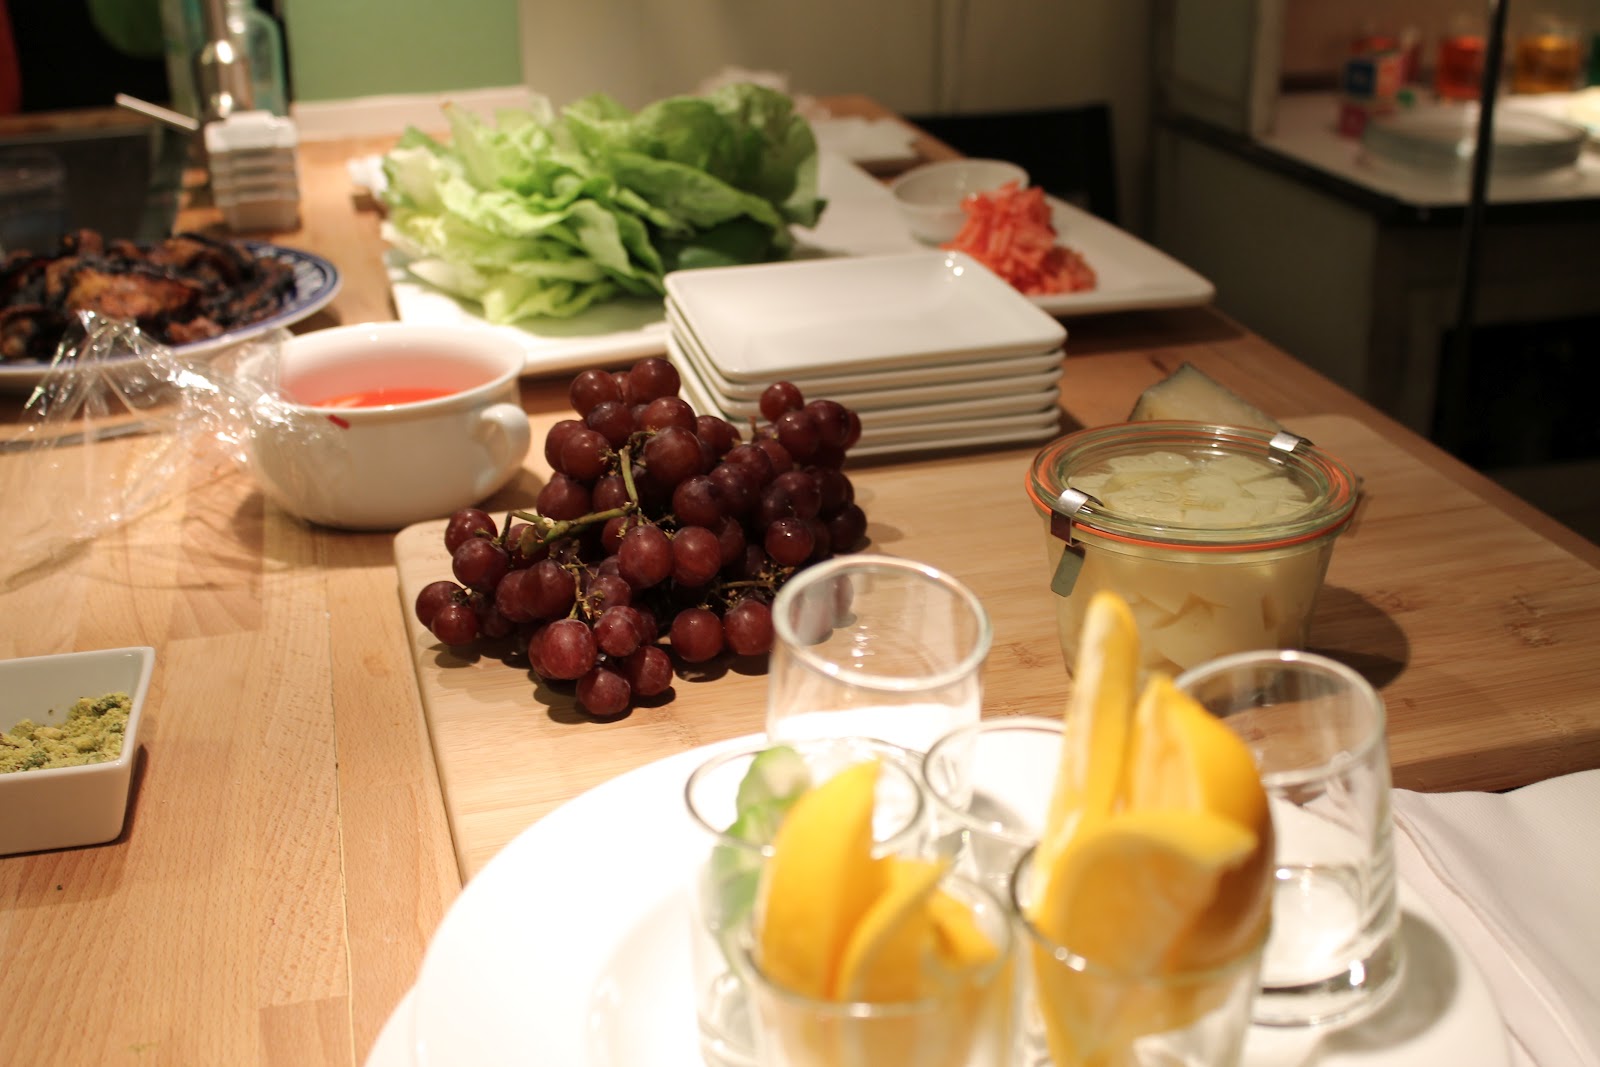
Again, I have to credit Top Chef for the inspiration.  Chef Grayson Schmitz made a dish with a dill caviar, and explained that spherification was one of the easier molecular gastronomy techniques. Awesome! Super cool and easy to make? I was sold. I knew I wanted to make spheres as an accompaniment to something on the cheese plate course.  I searched online for ideas, and found a beautiful recipe for prosciutto with cantaloupe spheres – a simplified version of a dish served at El Bulli.  But I had to abandon this idea when I learned that the birthday boy didn’t like cantaloupe.  So, I decided to keep it simple and make a honey caviar to serve on slivers of Iberico- a semi-firm, manchego-like Spanish cheese.  Just for fun, and to practice the technique, I decided to make an apple juice caviar.  (Note: The recipe I used was from Sketchy’s Kitchen, but that post is no longer available after a site upgrade.)  Here’s what happened!

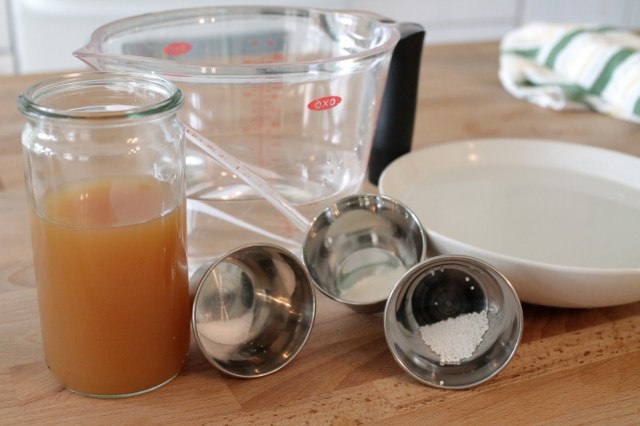
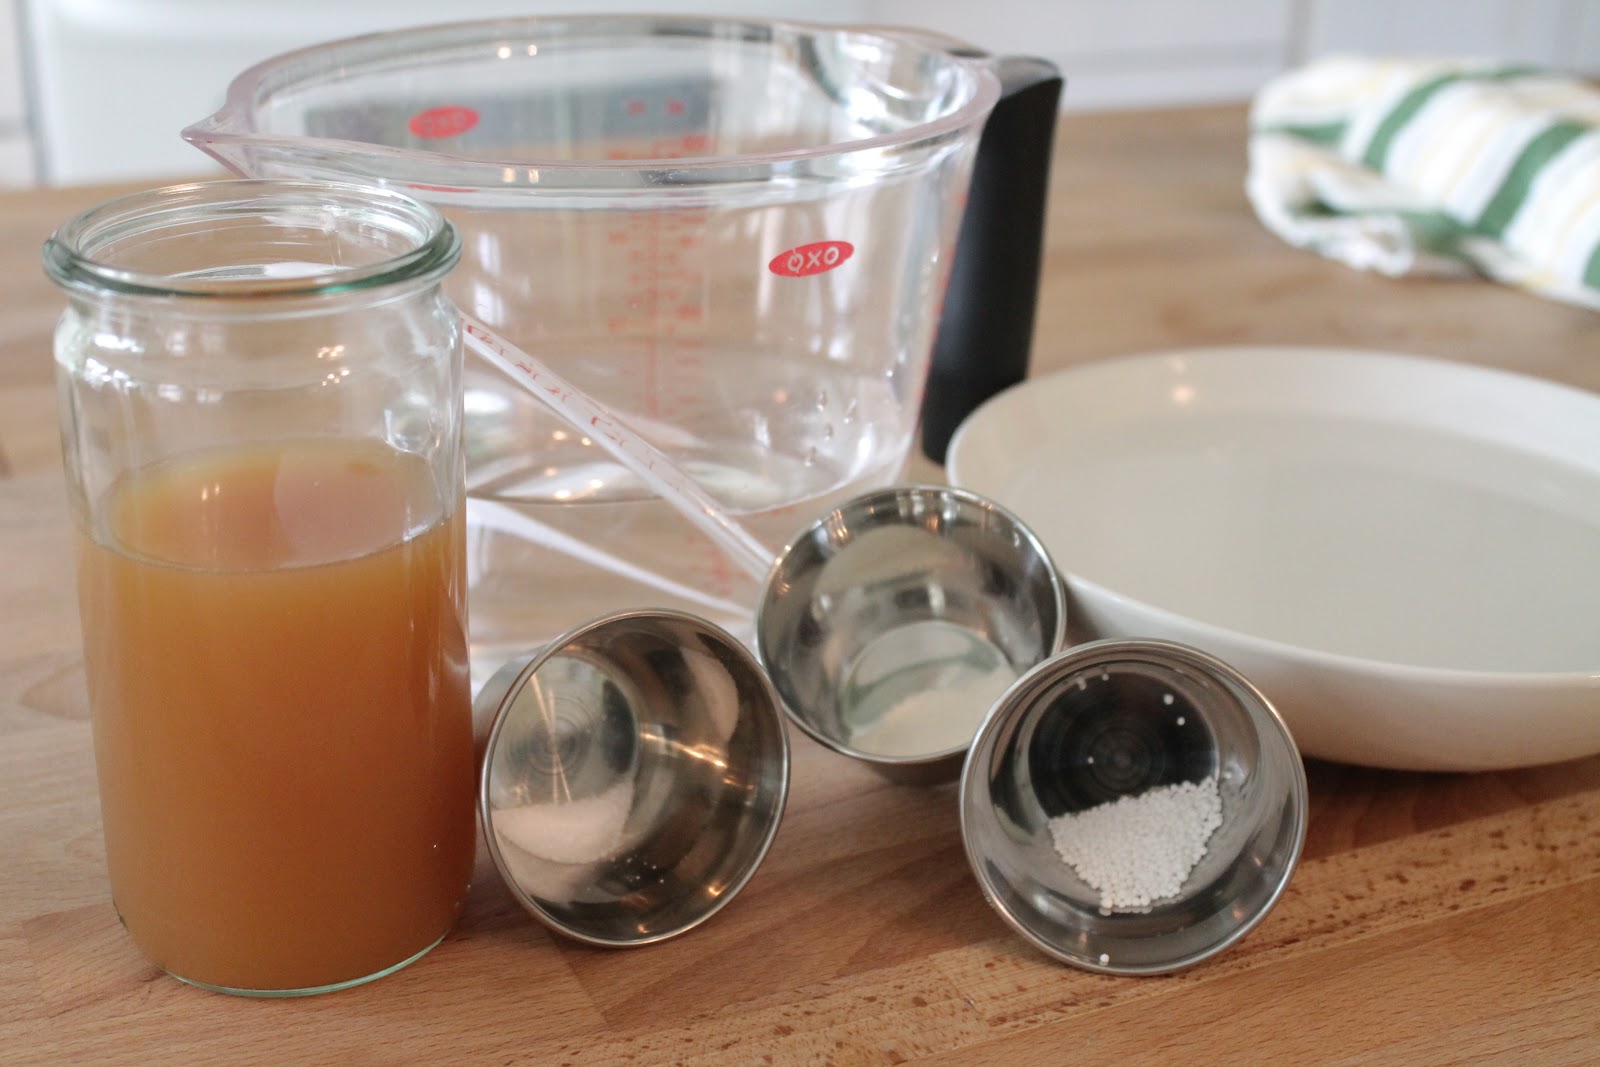
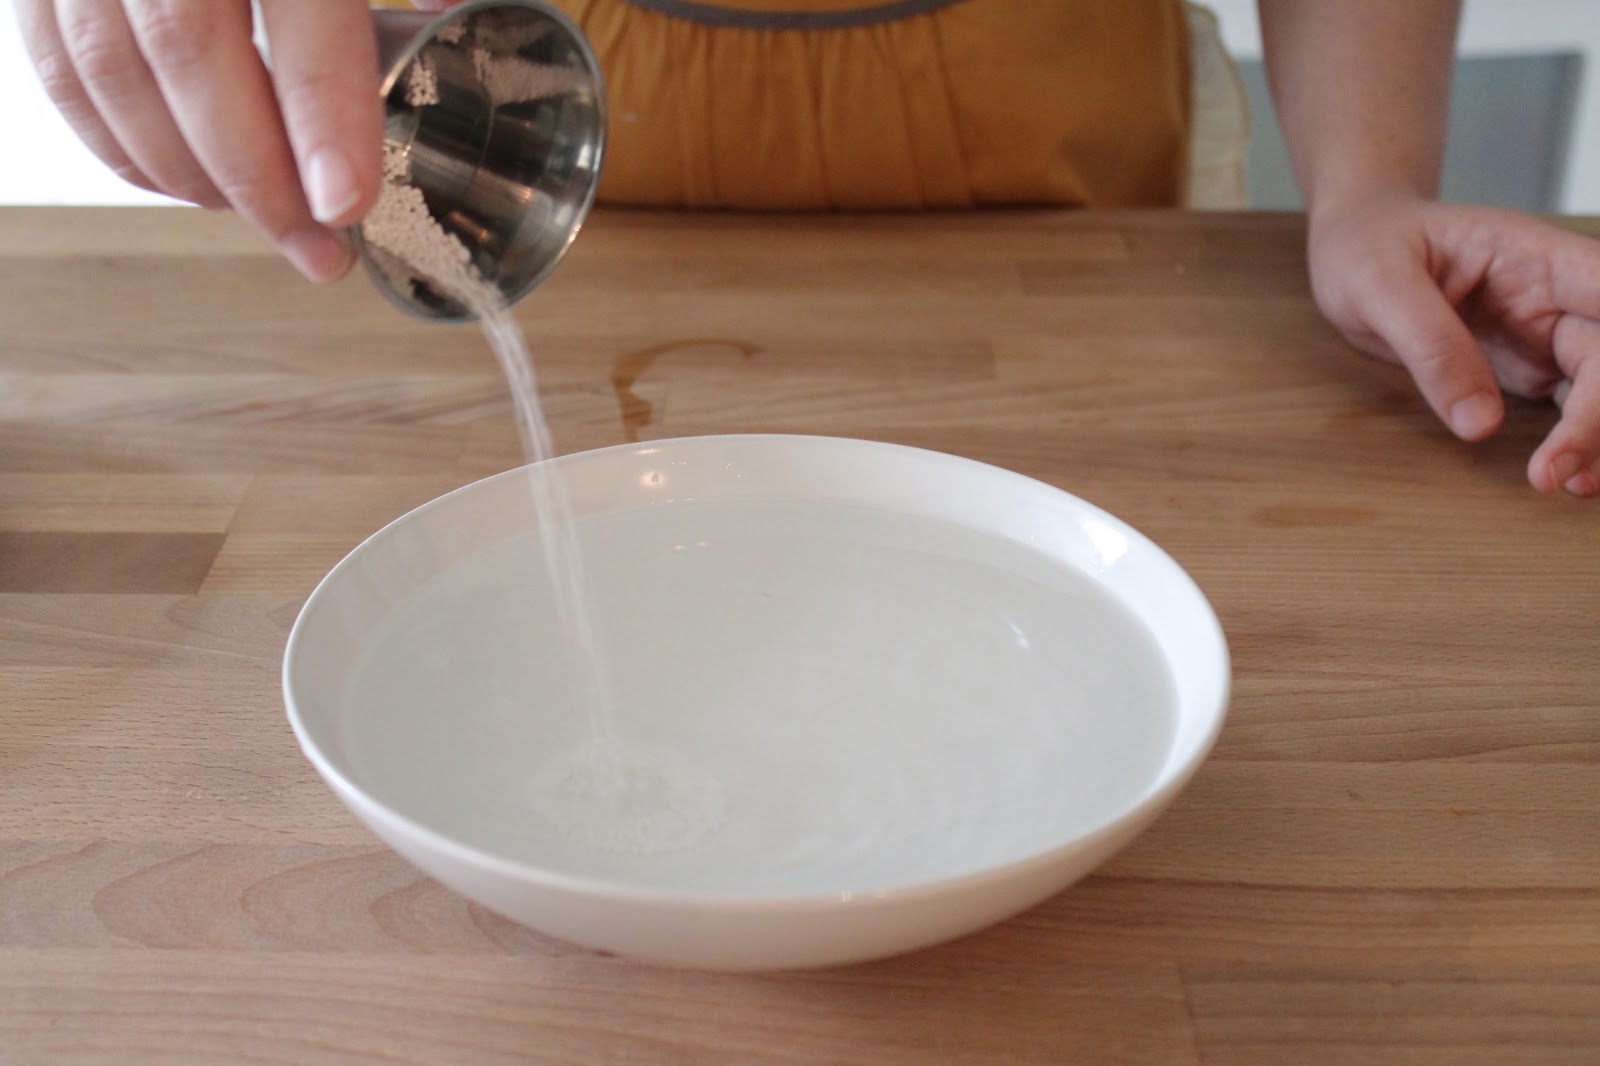
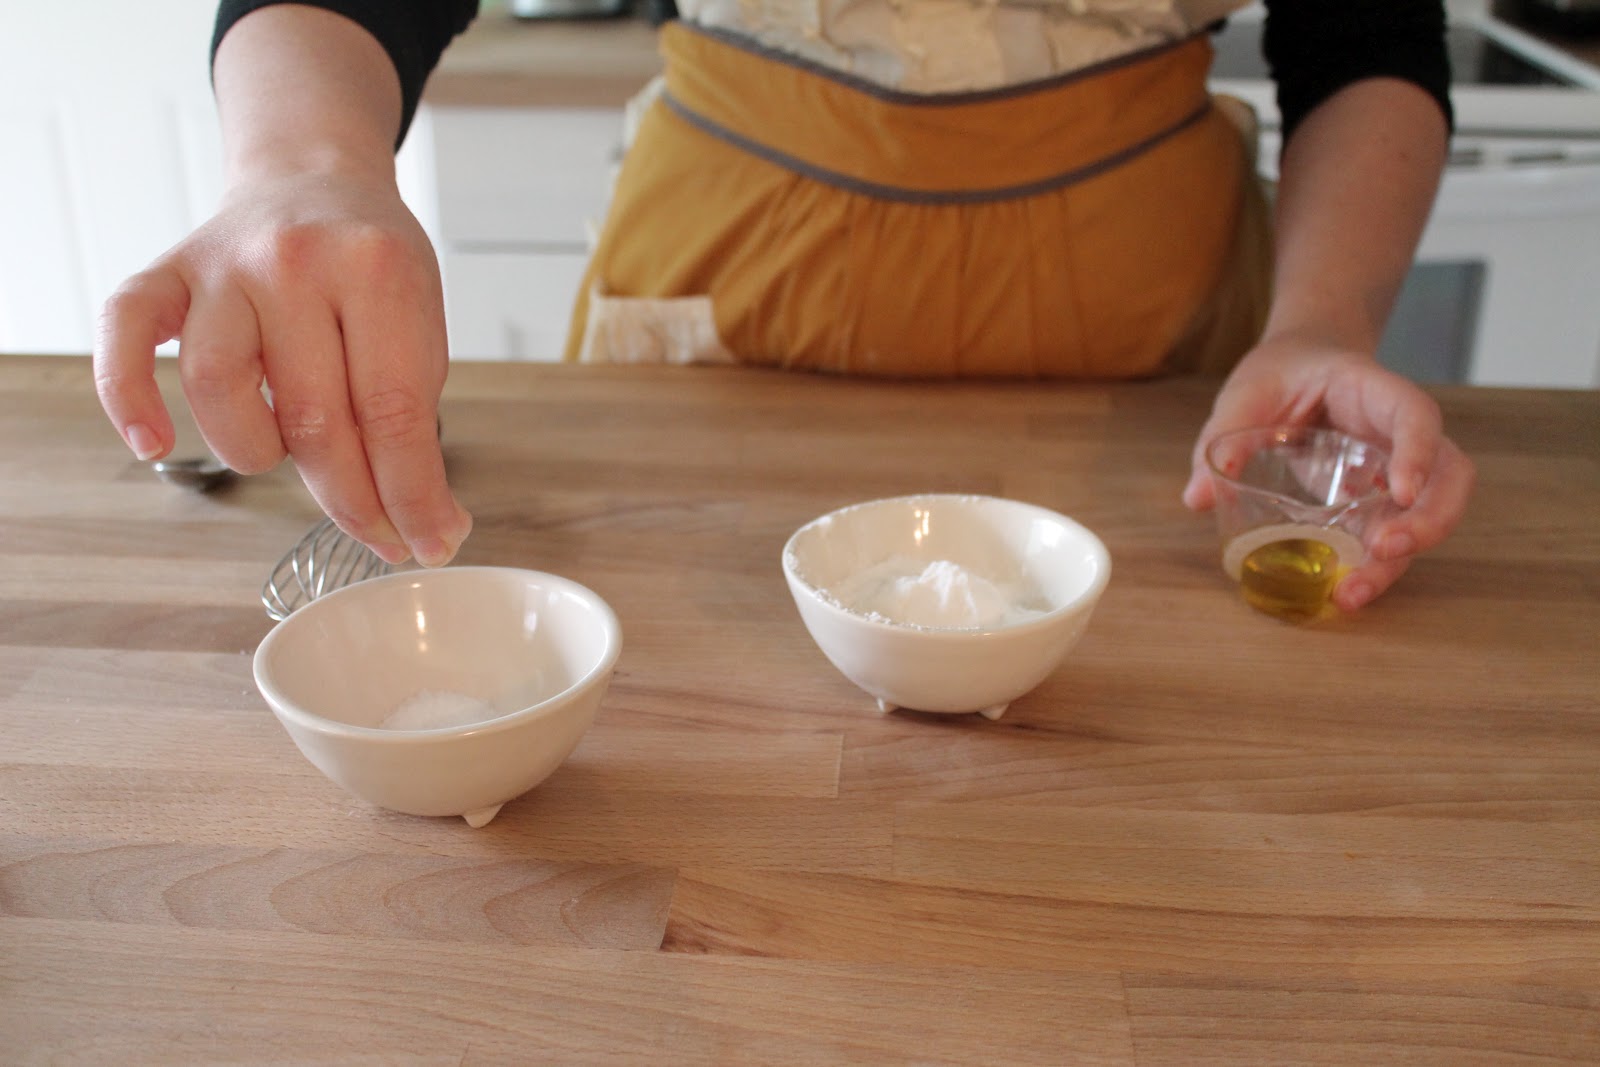
The ingredient shot.  8 ounces apple juice, 1/2 tsp sodium alginate, 1/8 tsp sodium citrate, 2 cups of water, 1/2 tsp calcium chloride, plus an additional water bath.  
Basic spherification requires only that you mix an alginate with a liquid and drop that mixture into a calcium bath.  But! If your liquid is too acidic (has a pH above 5), your spheres won’t form unless you add sodium citrate.  So if you’re experimenting with different liquids, you’re probably going to need to find yourself some pH paper. 

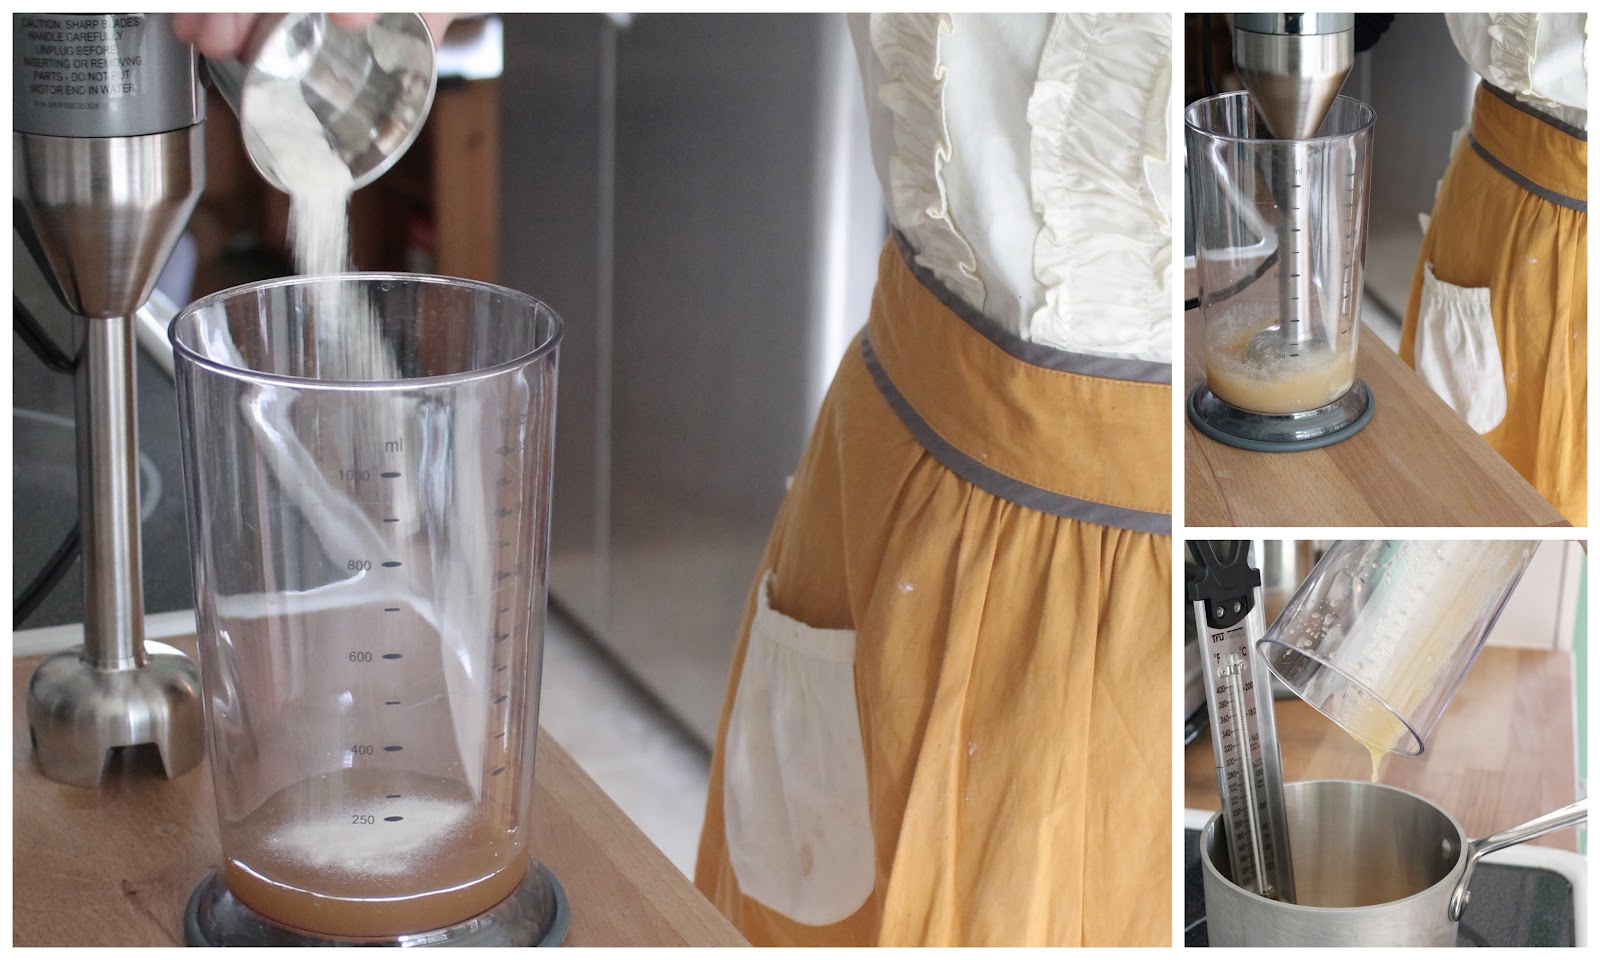
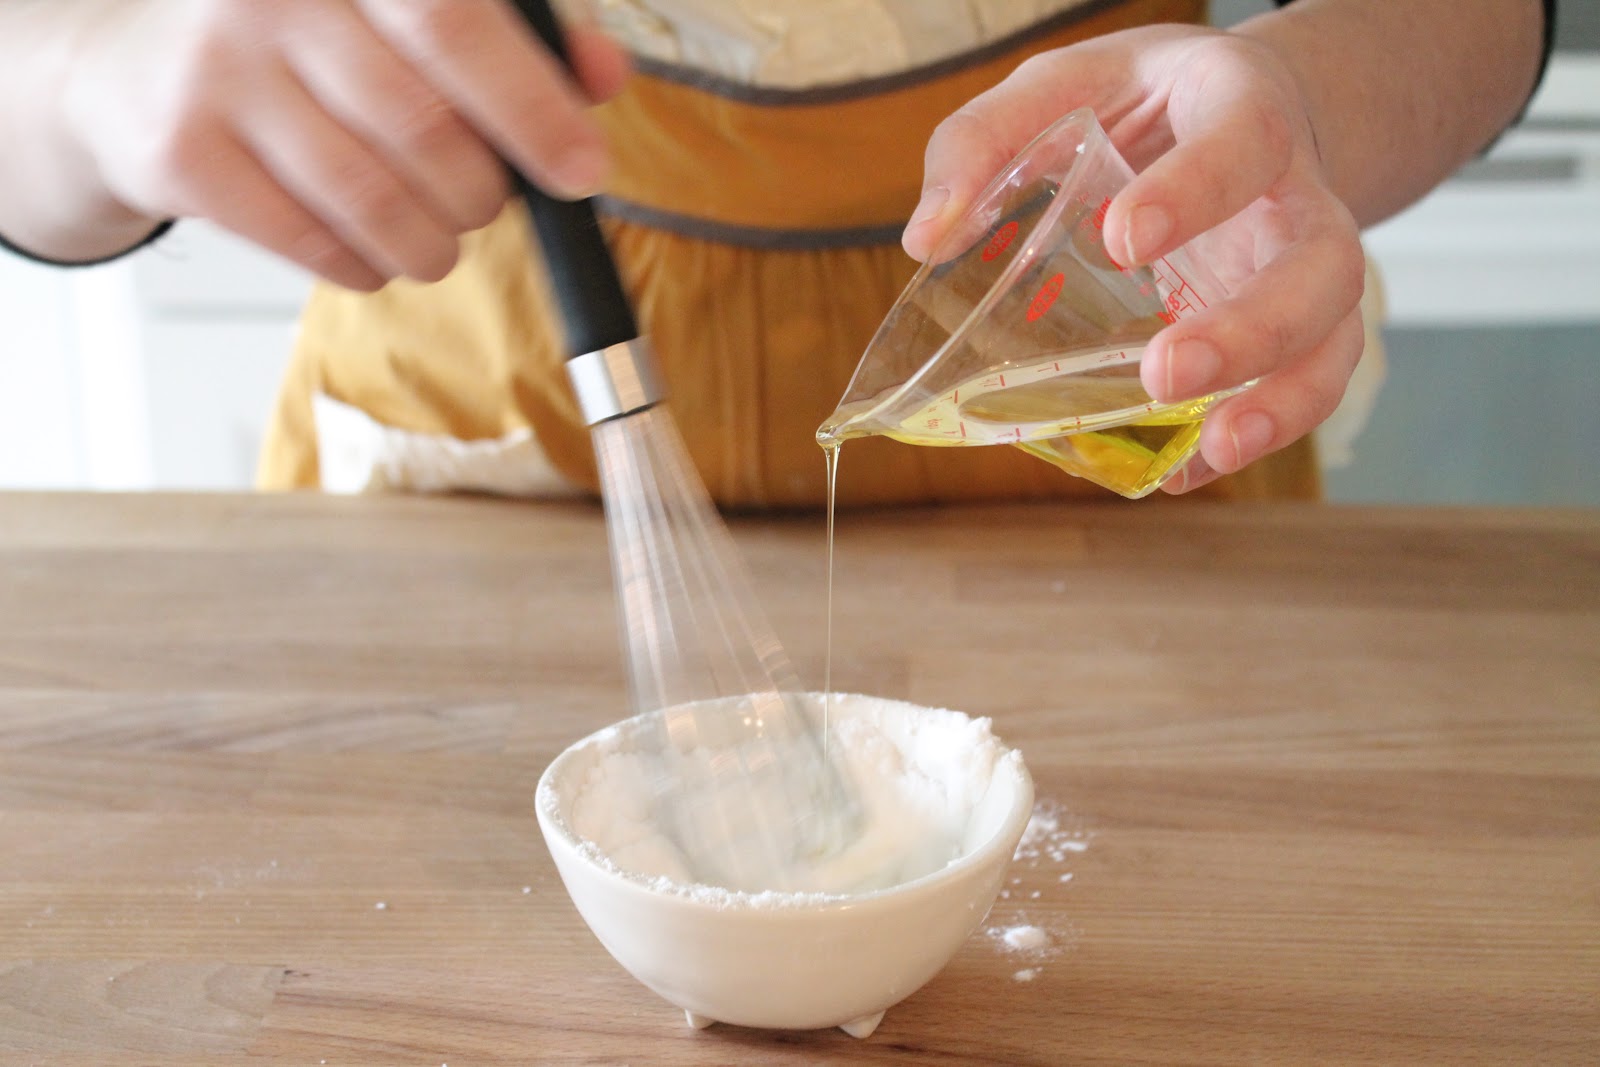
I thought I would just be able to mix the sodium alginate into the apple juice with a few quick strokes of a fork, but alas.  Turns out the alginate is very reluctant to dissolve, so you’ve got to mix it into a third of your juice using an immersion blender (a process that can take up to a minute).  Then, since you’ve aerated the mixture so much, you’ve either got to wait 12 hours or so for the bubbles to leave the liquid (bubbles = bad spheres), or else heat the mixture to 205 degrees. This didn’t seem like the easy technique I’d signed up for. 
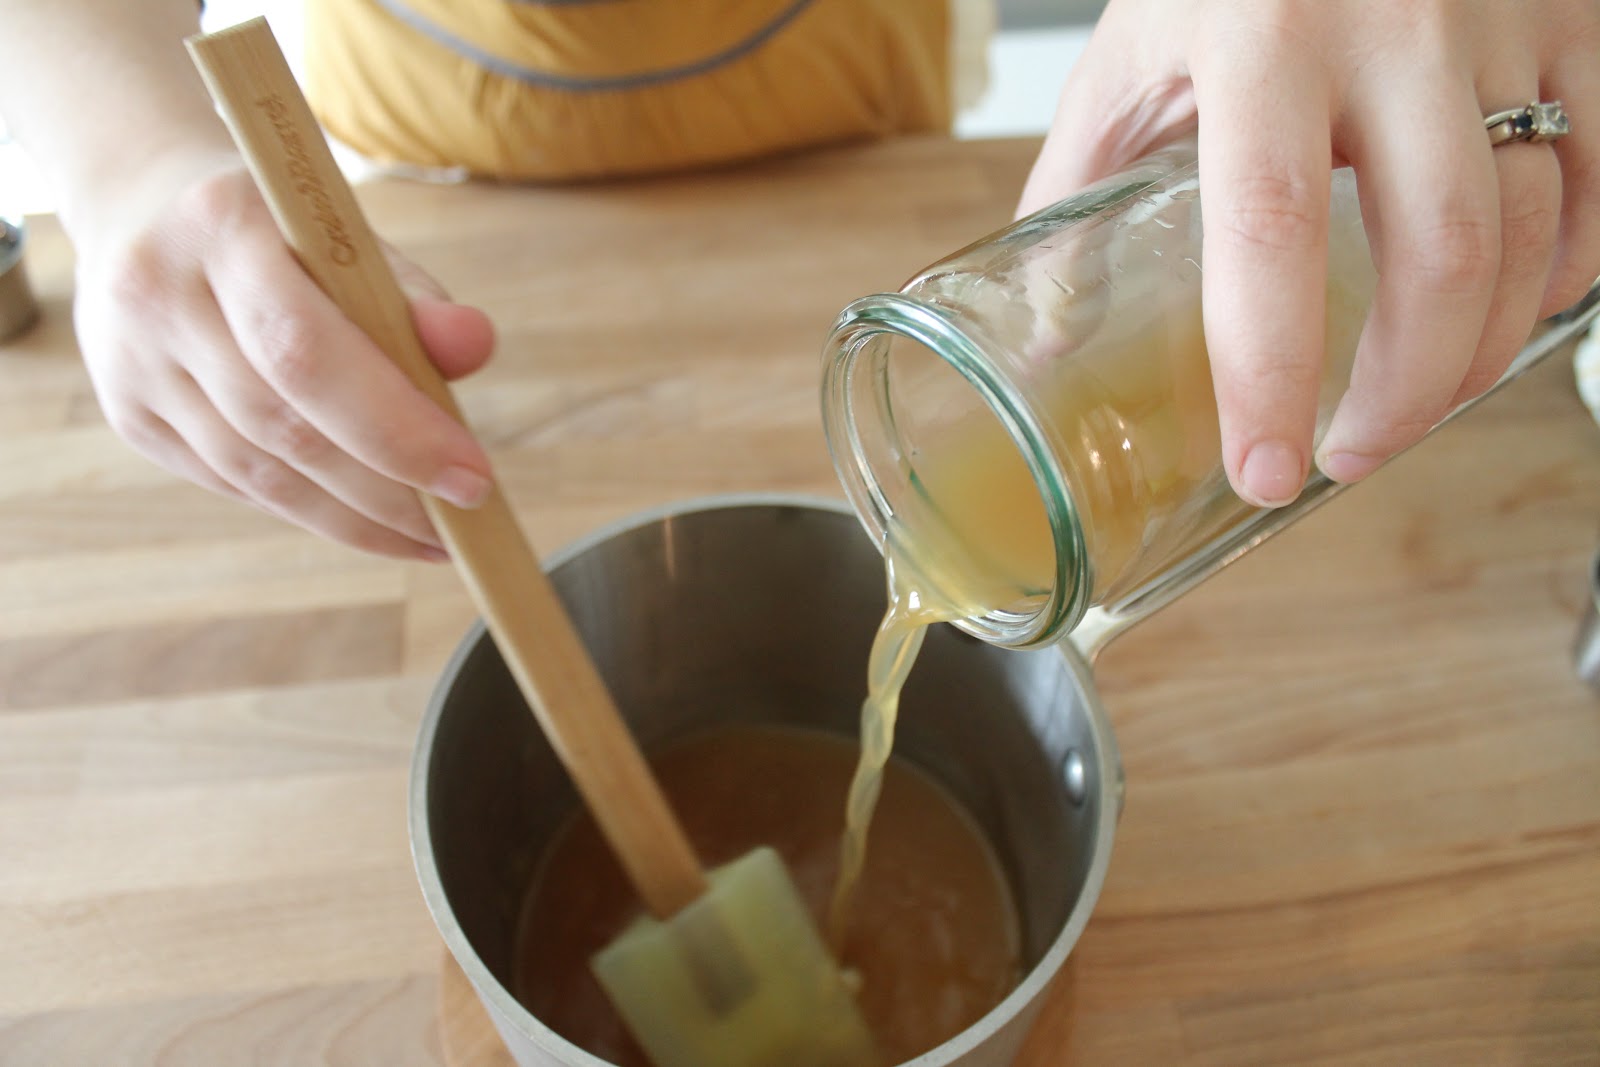
Once the mixture reached 205 degrees, I stirred in the rest of the apple juice and the sodium citrate, and then refrigerated the liquid until it had cooled down to near room temperature. 
Meanwhile, I made the calcium bath by mixing the 1/2 teaspoon of calcium chloride with two cups of water in a shallow bowl.  You have to whisk the bath a bit to get the sprinkles of calcium to dissolve.  (If you don’t you might unwittingly coat your apple juice spheres in a chalky, salty  layer of undissolved calcium, which your taste tester will not appreciate.)
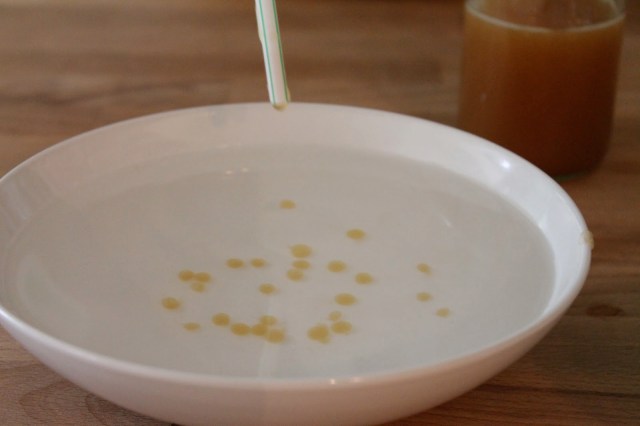
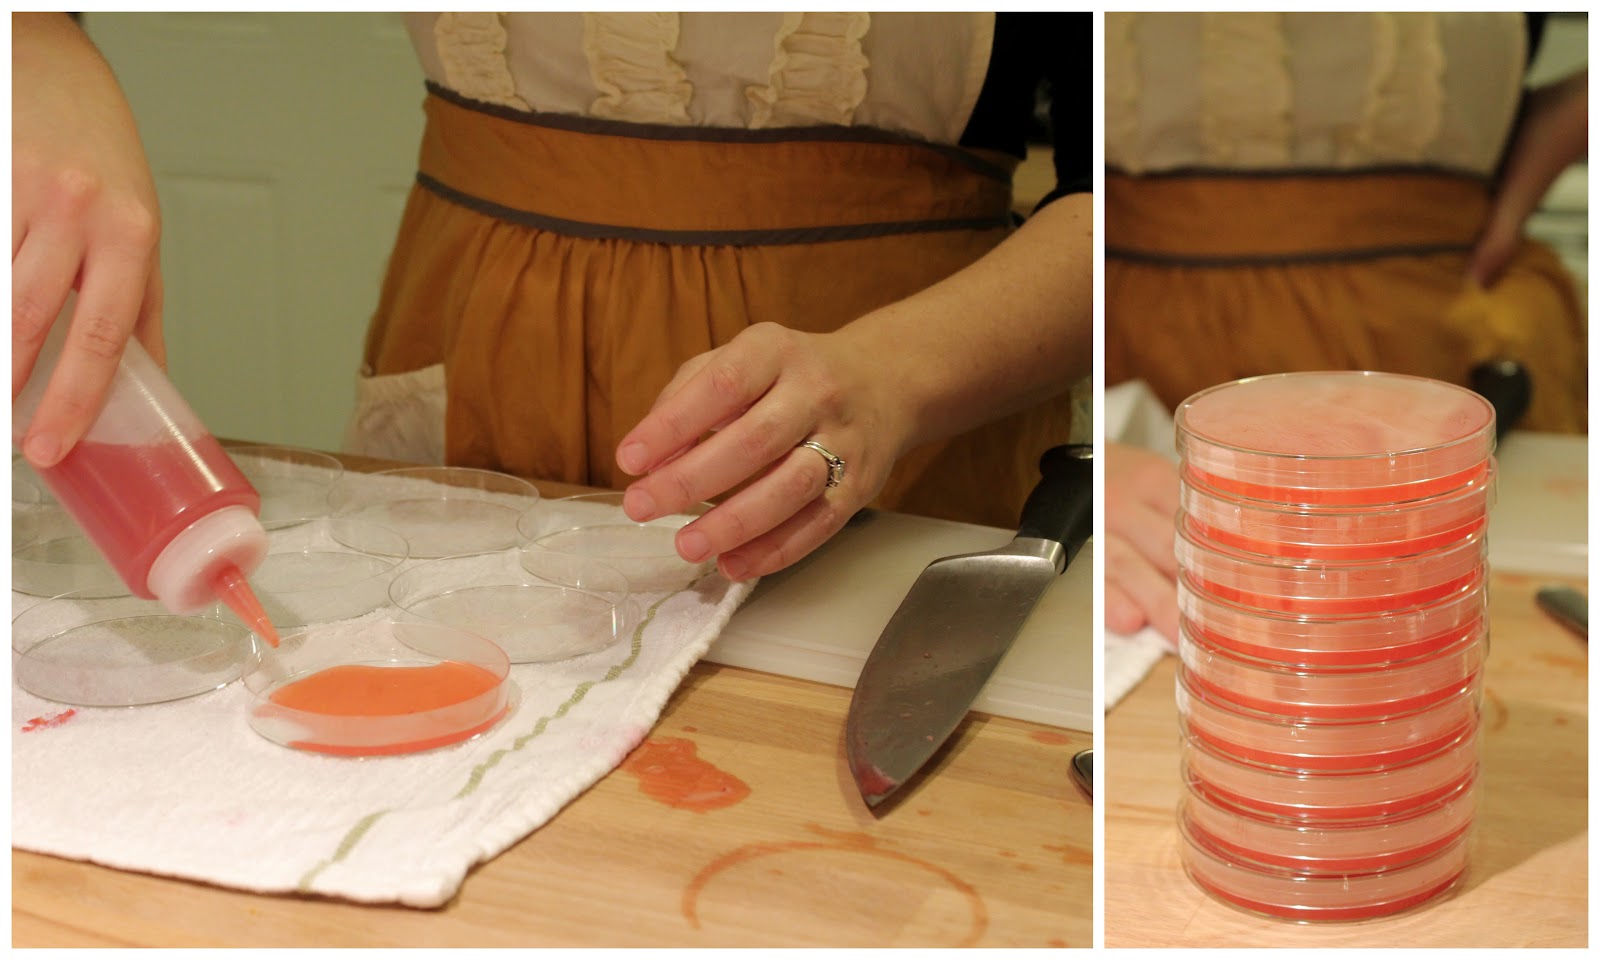
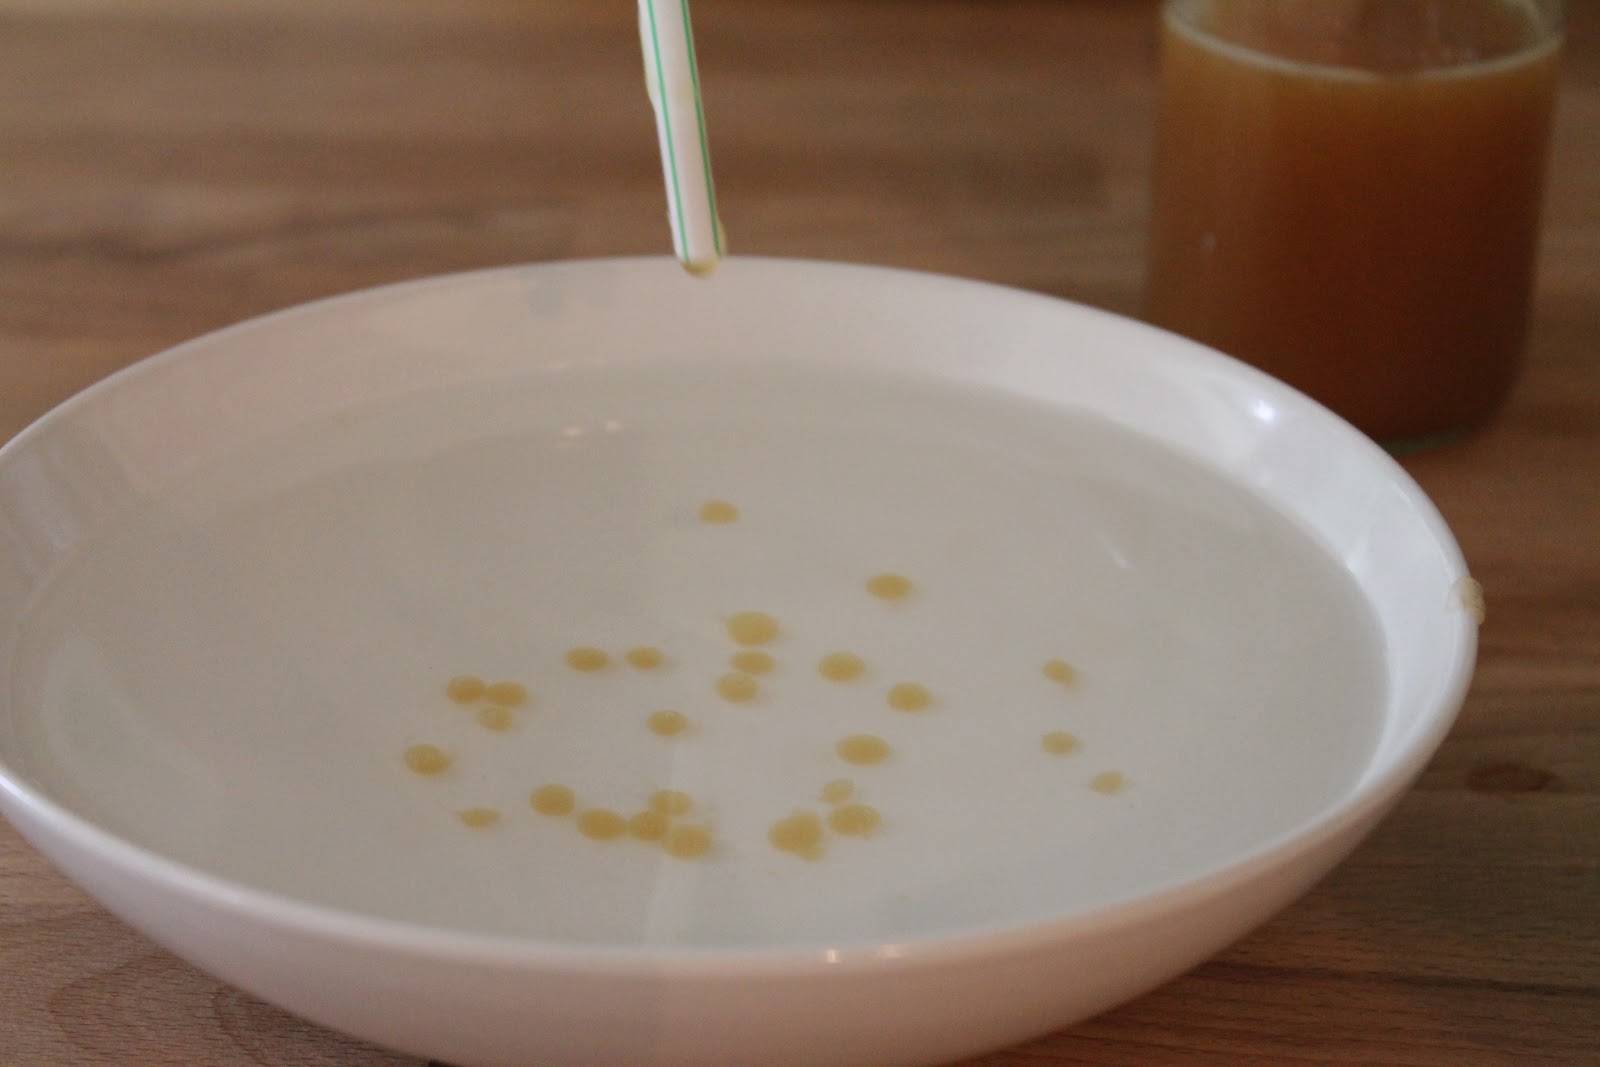
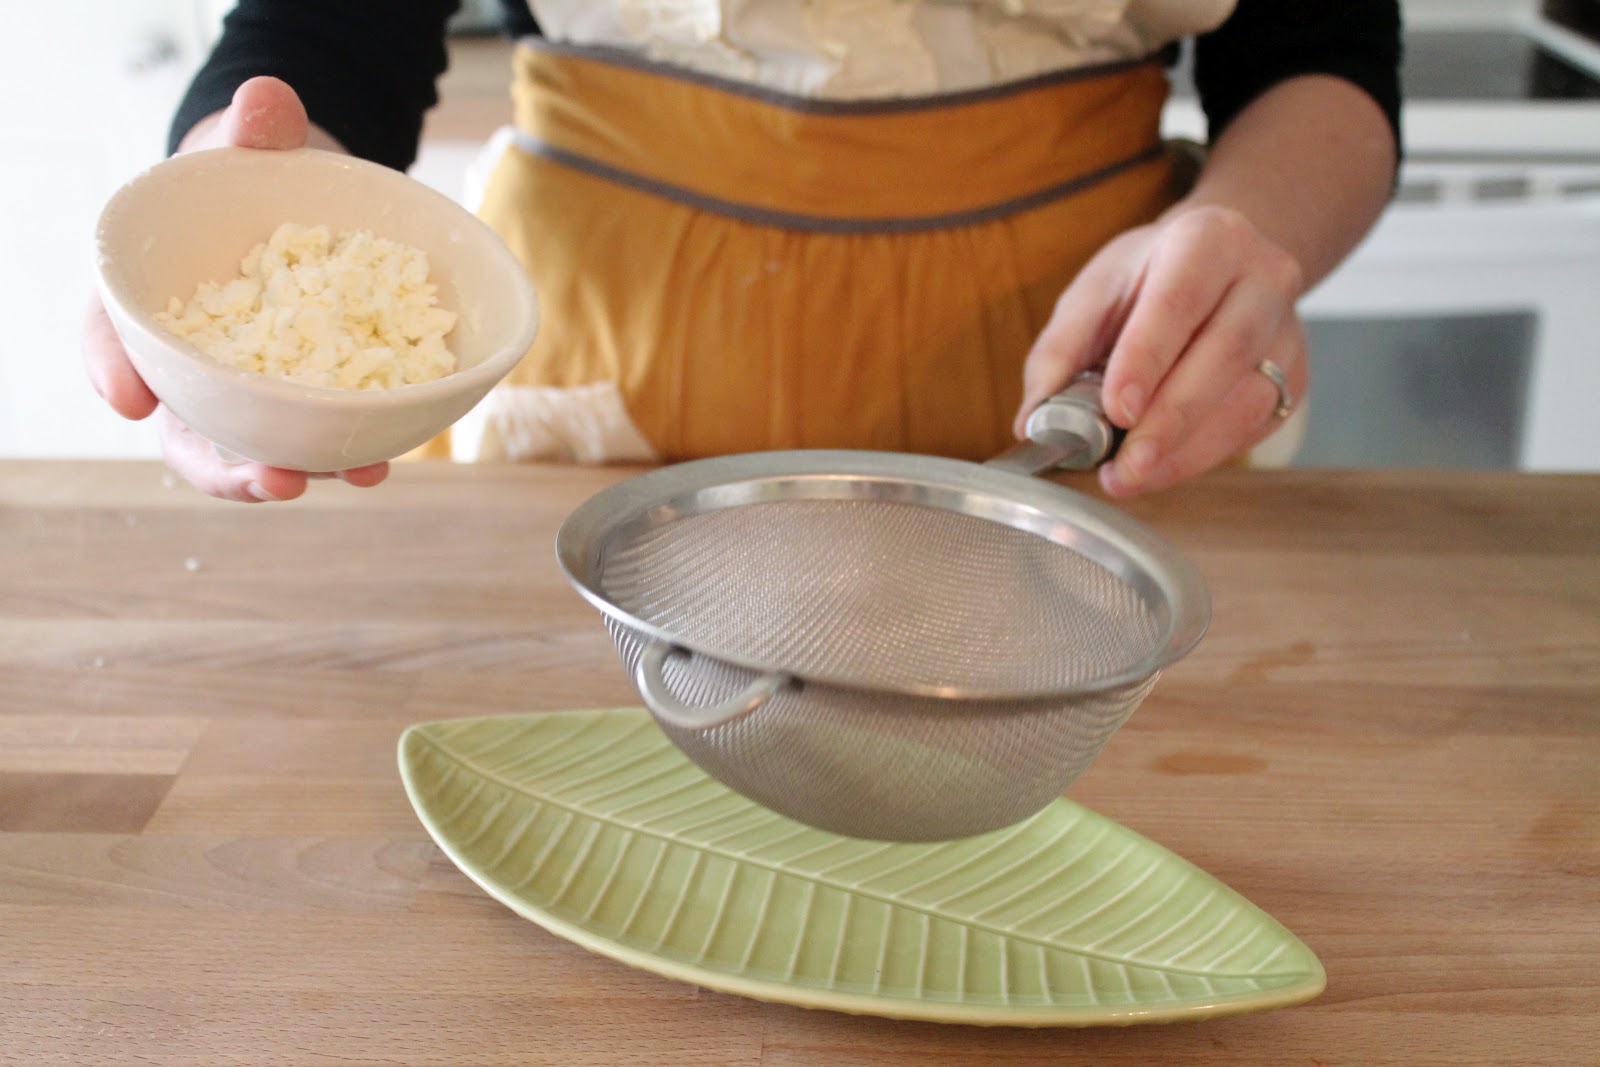
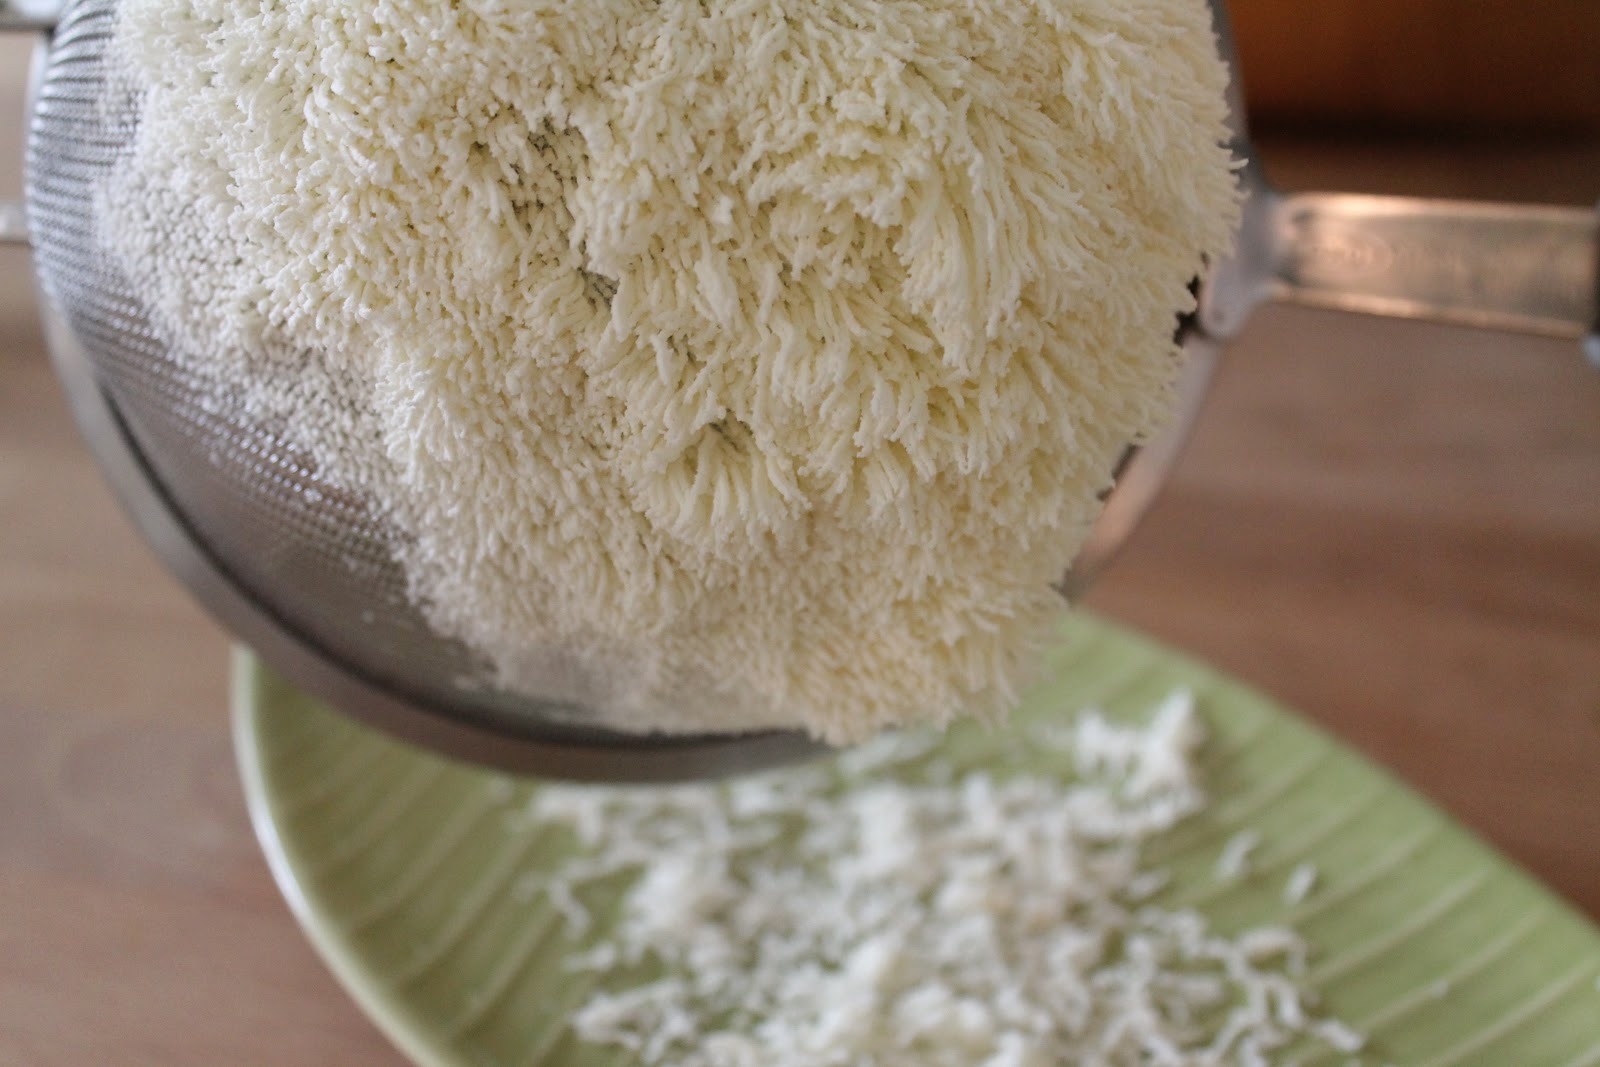
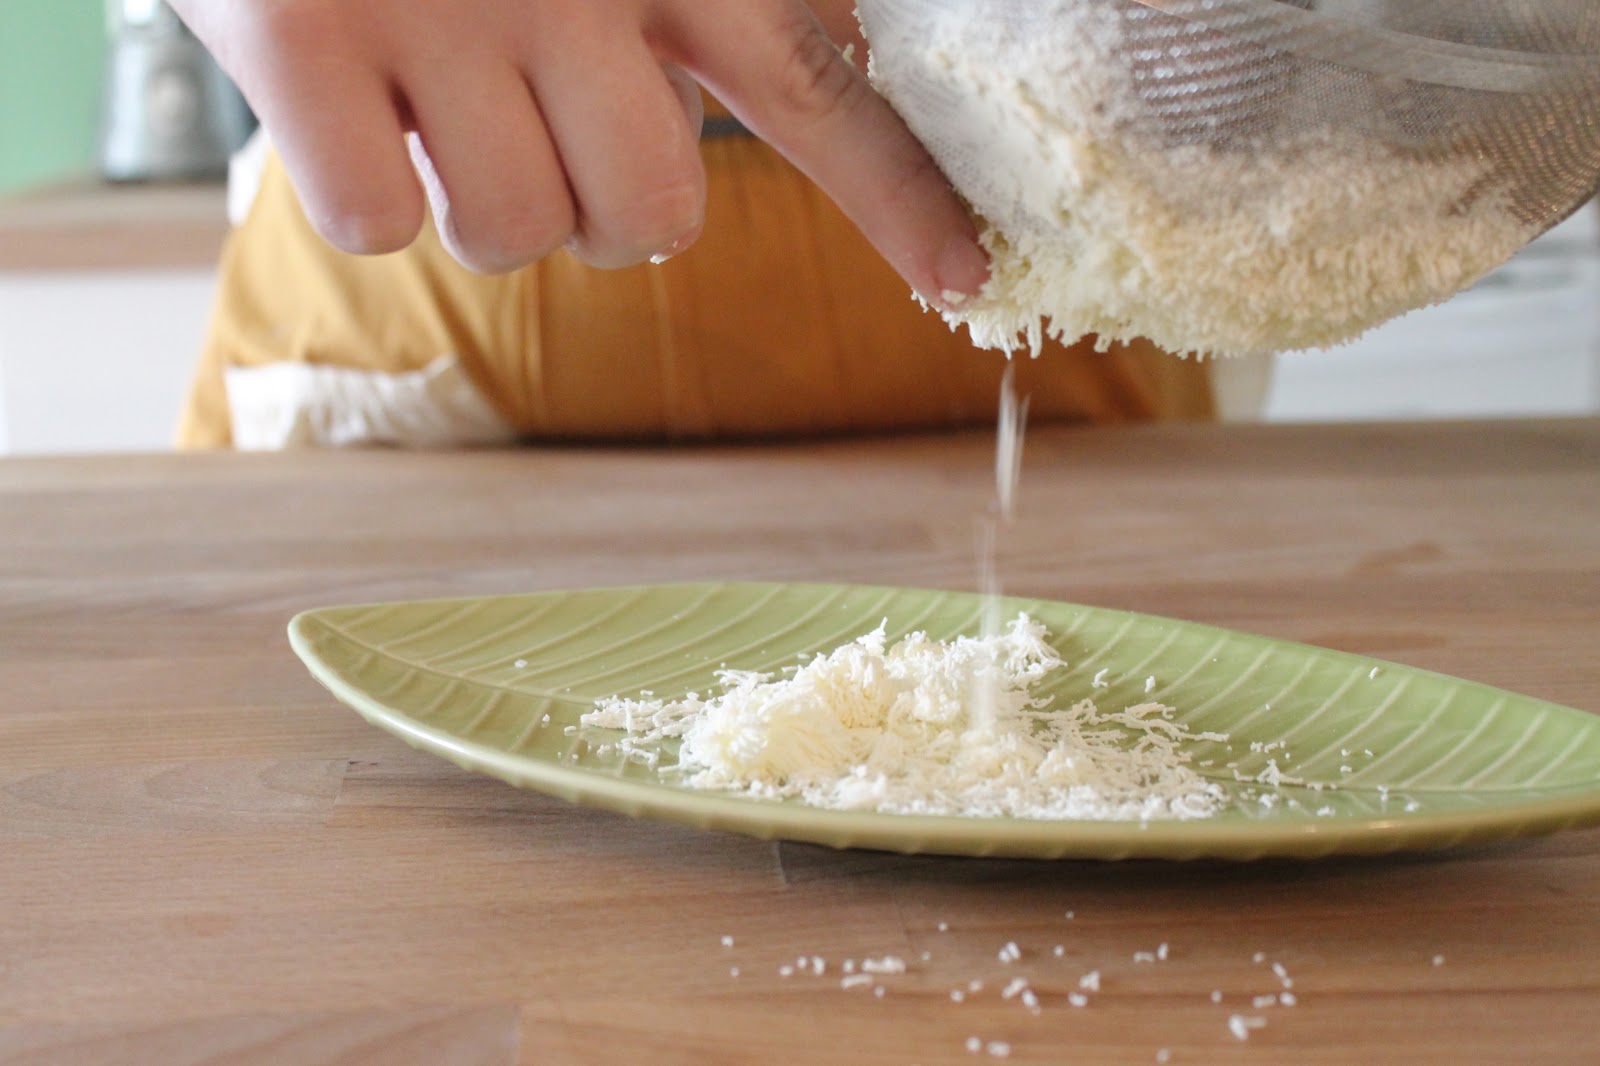
Ok.  I didn’t buy the syringe you’re supposed to used to make these spheres.  I thought I could just use a pipette, or failing that, a plastic squeeze bottle.  These both failed miserably.  The pipette made drops that were way too tiny and hardened almost as soon as they hit the water.  The squeeze bottle made long ropy noodles of apple juice which were actually kind of cool, but looked completely horrifying.  The winning sphere-ifier turned out to be a plain old drinking straw! I just held my finger over the top of the straw and let the juice slip out one drop at a time. This worked, and was free, but I’d have liked to have the syringe. 
You’ve got to drop the liquid into the calcium bath pretty rapidly, because if the spheres sit in the bath for too long (more than about 45 seconds or so), then they’ll turn into completely solid goo-balls instead of the thin-skinned caviar filled with juice you’re going for.  So, after 45 seconds, you hurriedly scoop the spheres out of the bath with your slotted spoon. (Again, you should buy the spoon with tiny holes that was made for this job.  I thought I could get by with my tiny sieve, but it was a nightmare trying to chase those spheres around the bowl.) And, at last, ta da!
Apple juice spheres on a slice of parmesan!
So, yay! We had spheres! And they are really fun little pops of apple juice caviar.  But man oh man, this was not at all the breezy technique I had envisioned! It’s really finicky work.  In addition to the pH-finding, immersion blending, heating, chilling, careful and rapid dropping, and quick removing, it absolutely has to be done at the last minute because those spheres will continue to harden after they’re removed from the calcium bath, even if you rinse them in water.  That meant I would have to make my honey spheres table-side during the dinner party. But hey- the spheres are totally fun, and it’s a Science! dinner party after all, so a little experimentation at the table would be just fine.

How to Make Powdered Olive Oil

This is the second post in a series about planning a molecular gastronomy dinner party. Click here to read the first post about the blueprint for the big feast. These posts are also being featured on food52!

I had never had powdered olive oil before. In fact, I’d never even heard about it until this season of Top Chef, when chef Ty-lor Boring (best name ever) used it to top a cube of watermelon for a modernist cooking quickfire challenge. I so love this sort of magical transformation that molecular gastronomy makes possible. I imagined eating this dish: a sleek cube of watermelon capped with an unidentified, powdery substance, that upon tasting you realize is something totally familiar, but in a completely new form. I researched this technique online, and learned that it was actually pretty simple- all you need is tapioca maltodextrin and any liquid fat. Tapioca maltodextrin is pretty neat stuff- it’s derived from tapioca, is near flavorless, and is incredibly lightweight. For these reasons, processed food companies have long used it as a way to add volume, but not weight, to frozen dinners and dry mixes! I call shenanigans.

Anyway, tapioca maltodextrin is also prized for its ability to stabilize liquid fats so they can be turned into powder, so I ordered it to use for Dustin’s Science! birthday party dinner. I had plans to use it for two courses. First, I wanted to make powdered olive oil to top cubes of my favorite local mozzarella as part of a cheese plate. Second, I wanted to use it to make a powdered bacon fat that I could use to dust a sage-flecked miniature funnel cake- the goal being that it would look like the powdered sugar topping on a traditional funnel cake, but taste like bacon. I wasn’t sure that the powdered bacon fat would work, because I couldn’t find any mention of such a thing online, so I decided to test the tapioca maltodextrin-waters with a simple powdered olive oil trial run. Here’s what happened!

 A tiny bowl on a non-molecular gastronomy approved scale (all the recipes I read say that you should use a  scale that can measure down to tenths of grams, but I got by just fine with my standard kitchen scale).

 An errant sprinkling of the tapioca maltodextrin.  It’s a feathery, superfine powder, and impossible to use without spilling.

Measuring 16 grams of olive oil to mix with the 5 grams of tapioca maltodextrin.  You want a ratio of about 1 part powder to 3 parts liquid fat.

Adding a pinch of kosher salt.

Oil meets powder! AKA, this bowl is too small.

The mixture should look a bit like a dry, lumpy biscuit dough.

The recipe suggests pushing the mixture through a tamis for a finer powder- I used a fine mesh sieve.

Pretty filaments of olive oil powder.

A final scrape.

Voilà! Powdered olive oil!

The verdict? Absolutely magical- the stuff melts on your tongue as if you’ve taken a swig of oil from the bottle. It didn’t look quite as powdery as I was expecting, probably because I didn’t have a tamis, but the end product was excellent all the same. I used my every-day olive oil for this attempt, not wanting to waste the good stuff, and therefore the flavor wasn’t all that it could be. After this trial run, I decided that instead of purchasing a really great oil for the party, I would make a simple garlic-infused oil, and then powder-ize that to top cubes of local mozzarella.

Here’s a video of me trying, and almost failing, to reproduce the technique with bacon fat!

Up next: I try my hand at turning apple juice into caviar!